All Fired Up: 3 Great Meats for Grilling
Meat / Grass-fed Beef
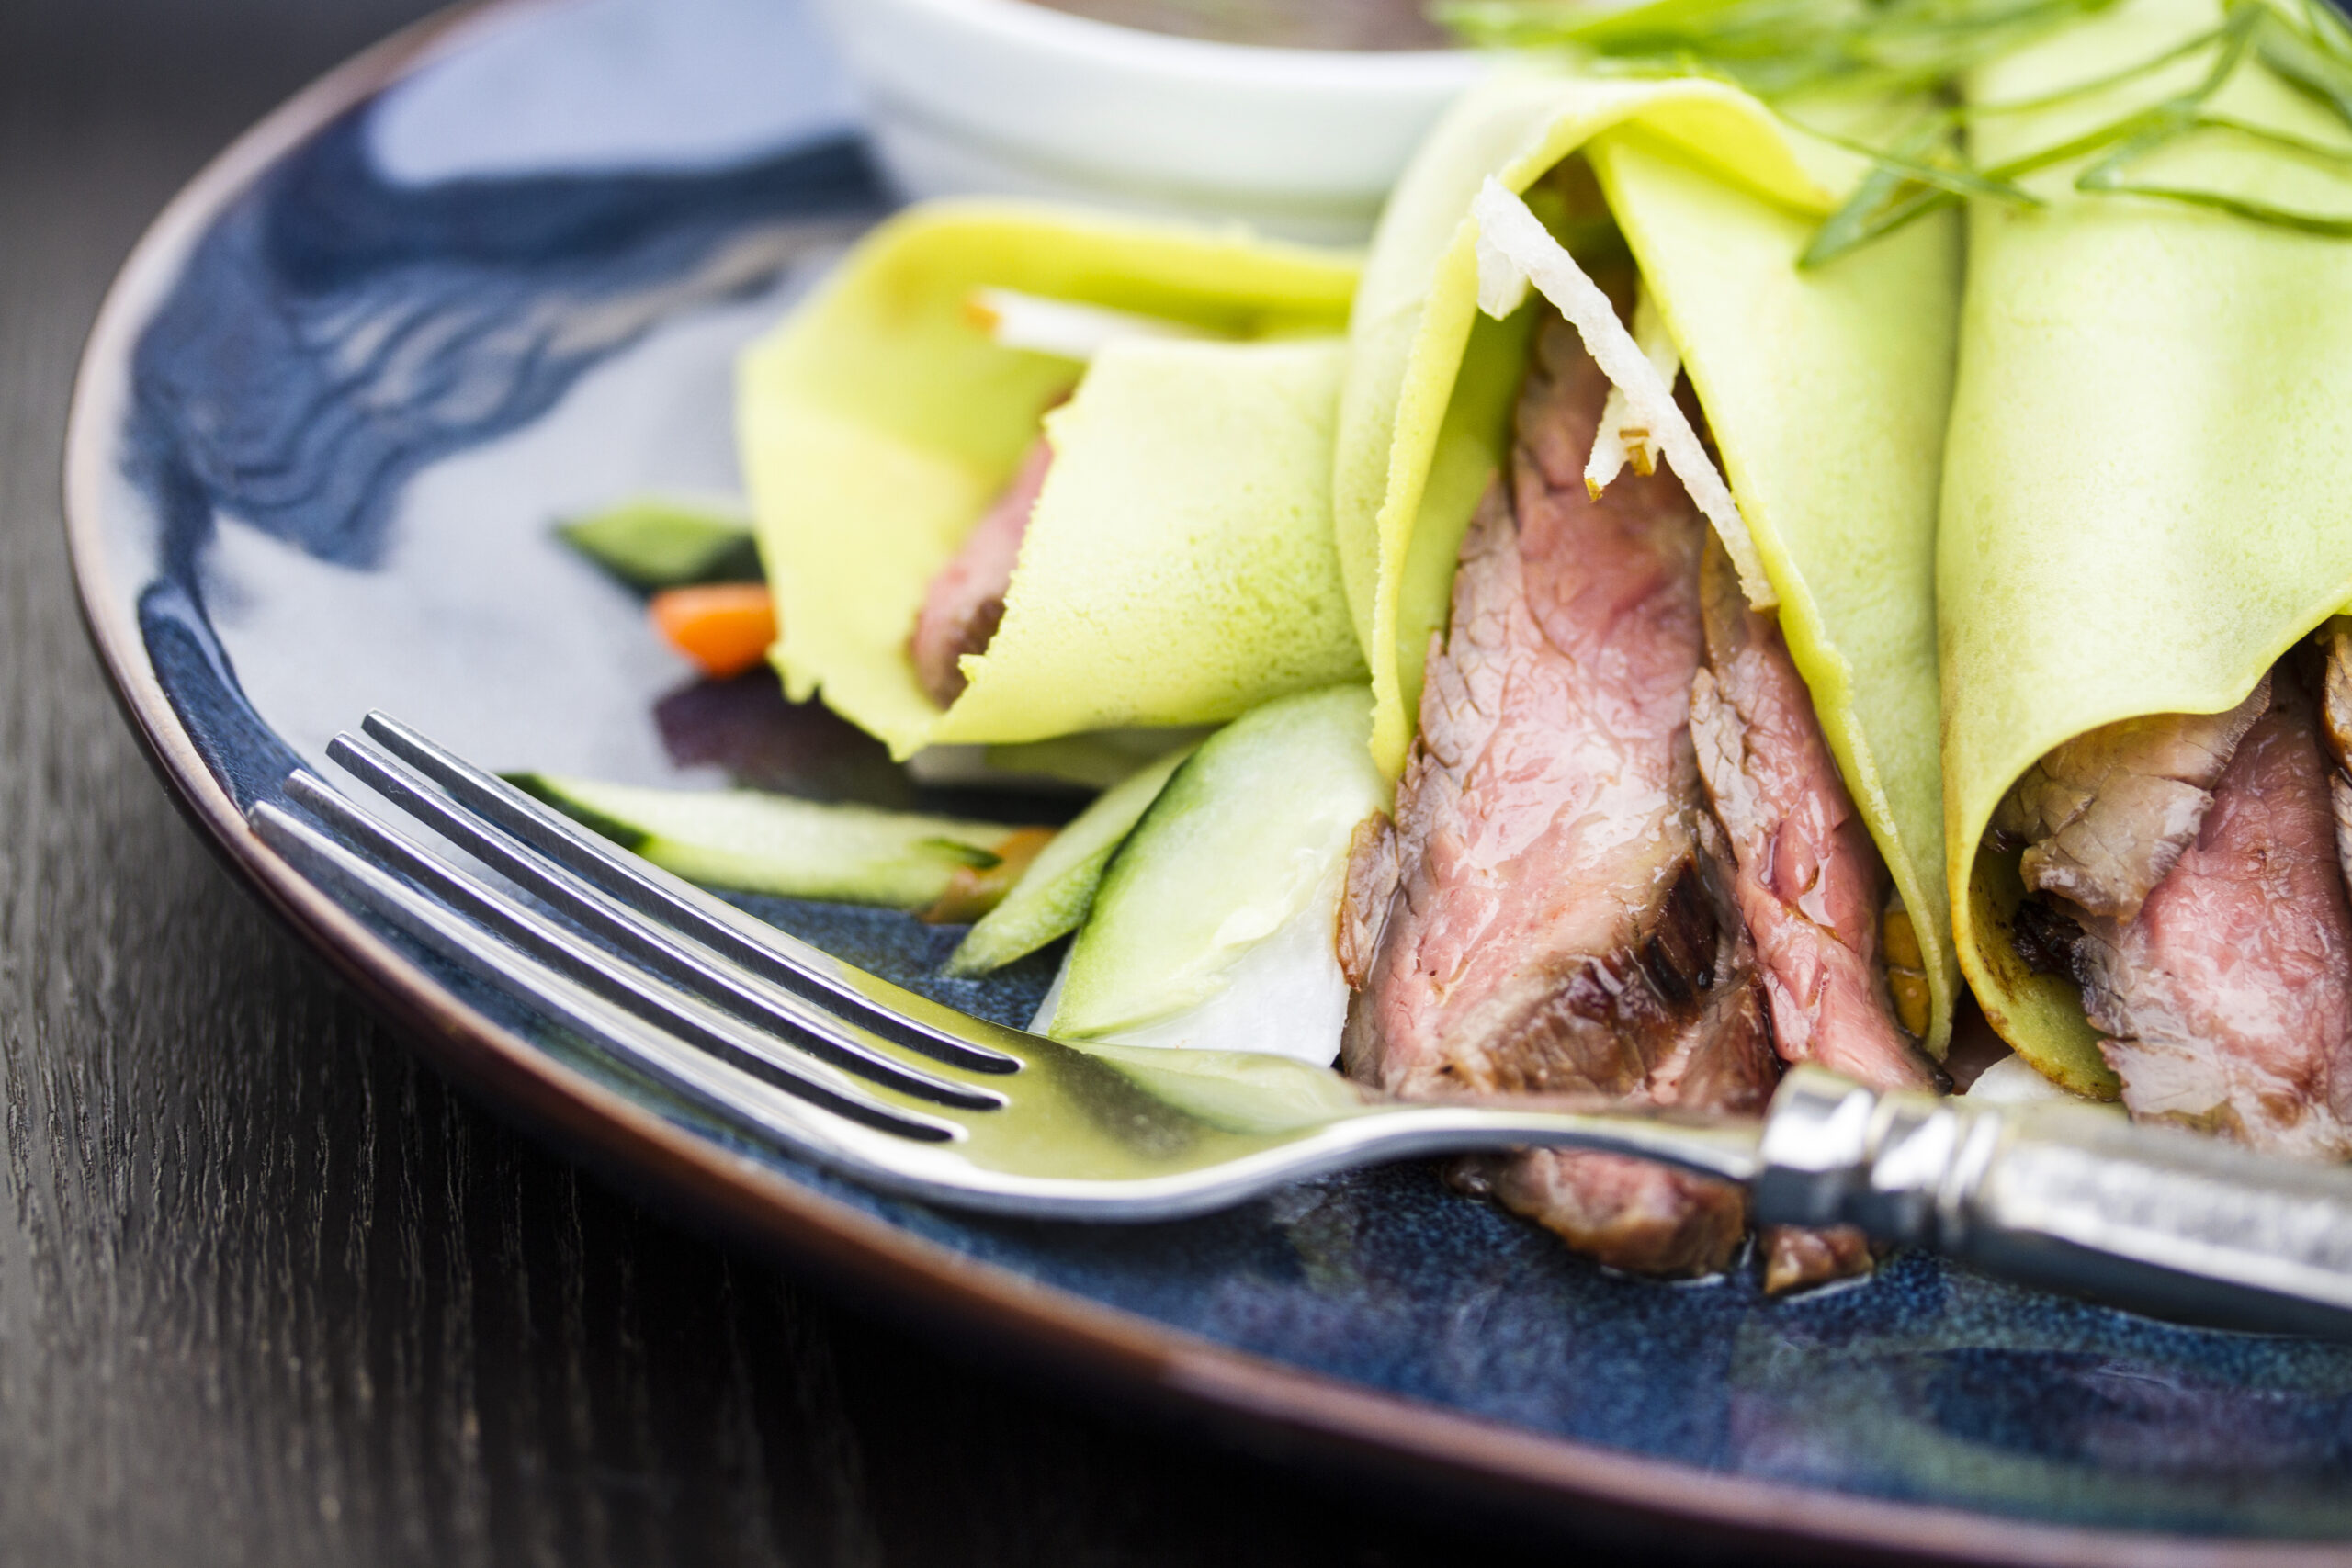
Korean-marinated Flank Steak with Green Onion Crepes
Tender crepes enfold slices of crispy Asian pear and gochujang-marinated flank steak. Pickled vegetables on the side contribute extra crunch.
Herban Renewal: Two Impressive Dinner Mains
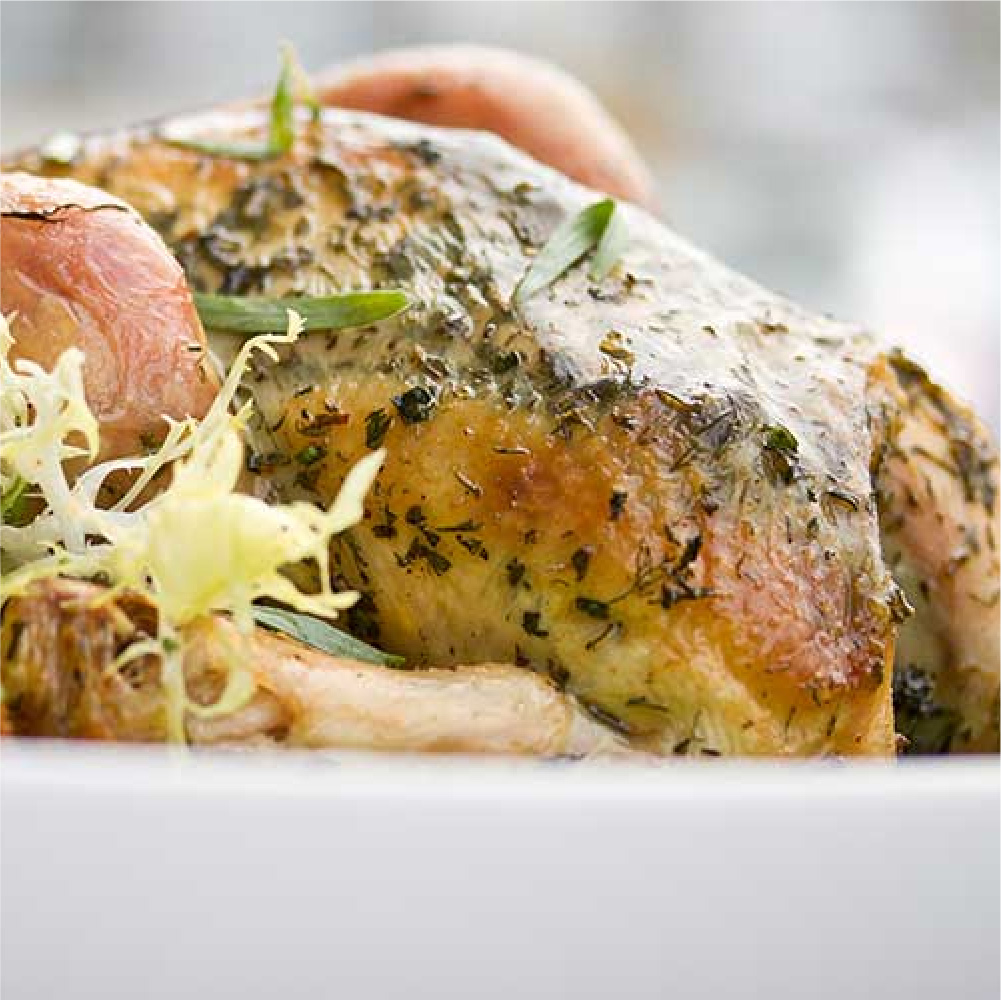
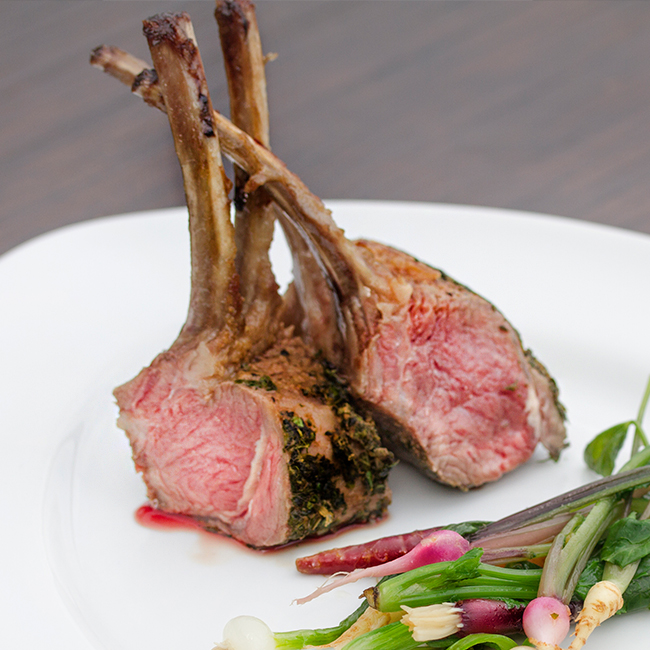
From our Test Kitchen: Quail
Itty, bitty boneless quail breasts are so easy to work with, full of flavor, and as fun to eat as chicken nuggets.
Go To Test KitchenNoodling Around:
4 Bountiful Bowls for Warmer Weather
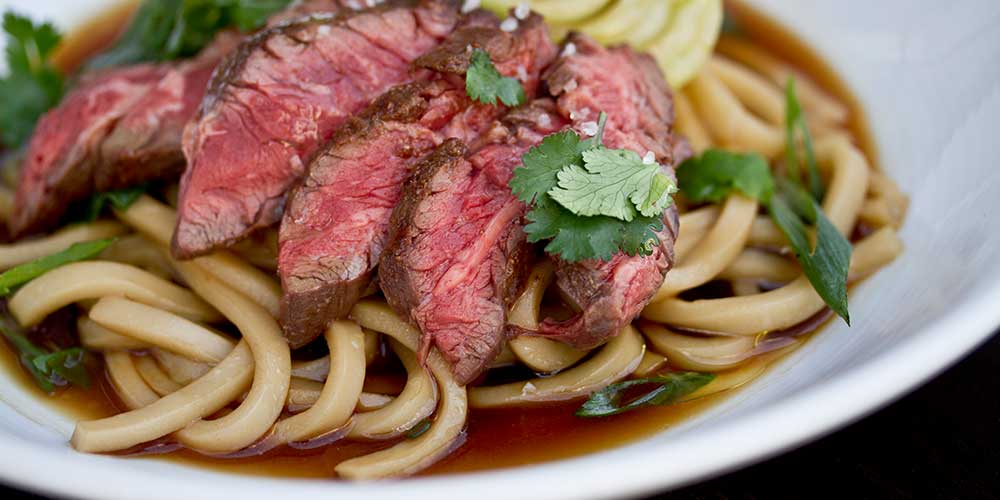
Meat / Grass-fed Beef
Hanger Steak Udon Noodle Soup
Ginger, soy sauce, and dried shitaki mushrooms bolster the umami-rich broth. You can pan sear and chill the hanger steak ahead, which makes meal assembly that much quicker.
Get the Recipe

Meat / Kurobuta Pork
Vietnamese Bun with Caramel-Glazed Kurobuta Pork
A many-textured symphony of big flavors crescendos in this light, refreshing noodle salad, anchored by tender strips of Kurobuta pork loin.
Get the Recipe