
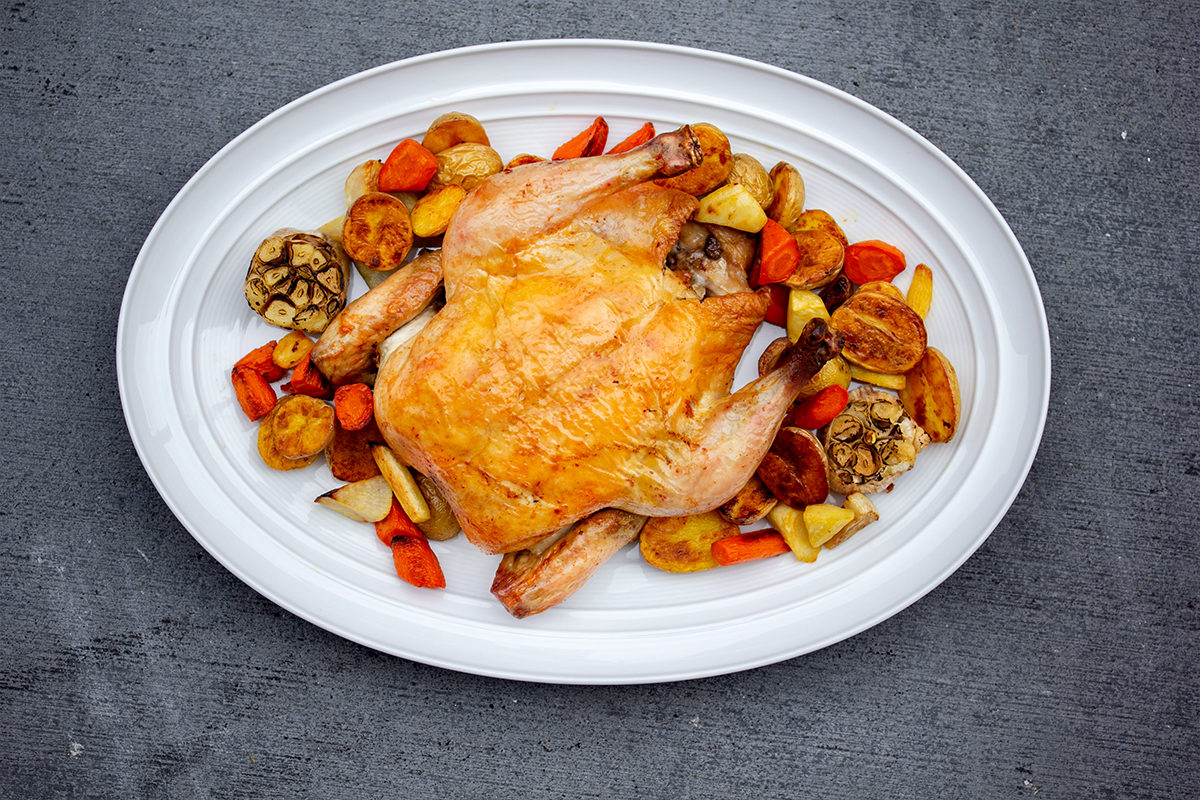
BBQ Quail Breasts
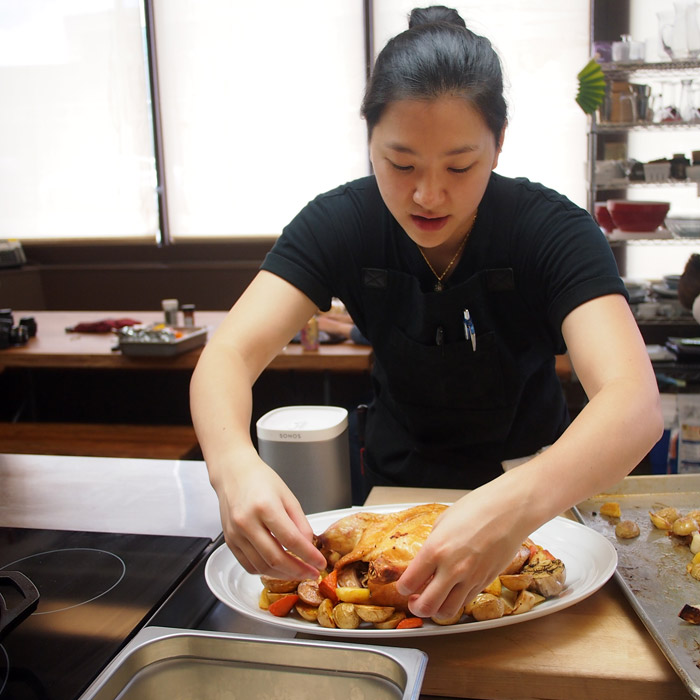
On the hunt for the techniques and recipes that would result in the perfect roast chicken — moist, tender meat and deliciously crispy skin — our Test Kitchen manager Jade was inspired by the techniques laid out in Judy Rodger’s recipe from the Zuni Café Cookbook. Jade simplified the recipe further, omitting some ingredients and prep steps, in order to focus on the technique and showcase the delicious natural flavor of organic chicken.

“I was team Thomas-Keller-three-ingredient chicken, but I wanted to try the Zuni recipe to see if dry brining is worth the extra prep.”Jade
4-6 Entrée Servings
This recipe requires a little bit of planning ahead, since you need to air dry and dry brine the chicken for a few days before roasting, but doesn’t need a lot of hands-on prep time.
INGREDIENTS
- 1 Whole Organic Chicken (4.5-5 lbs)
- Kosher Salt
- Optional (for pan gravy)
- 2 tbsp Butter
- ¼ cup All Purpose Flour
- 3 cups Chicken Stock (How to Make Chicken Stock)
DIRECTIONS
- 3 Days Before Roasting:
NOTE: If your chicken is frozen, follow these directions. If your chicken is already thawed, skip ahead & start with the directions for 2 Days Before Roasting.
1
Remove the chicken from its packaging/wrap & remove the giblets. (Discard or save to make stock.)
2
Place the chicken on a wire rack fitted inside a deep pan or baking dish. If you don’t have a rack, bunch up pieces of aluminum foil and shape them into an O-shaped rack to create an elevated base to set the chicken on. This helps air to circulate all the way around & keeps the chicken from sitting in liquid as it thaws.
3
Set the chicken breast side-down on the rack or tinfoil and place in the fridge to thaw.
- 2 Days Before Roasting:
4
Thoroughly dry the thawed chicken dry on all sides and inside the cavity.
5
Generously salt the chicken on all sides and inside the cavity with kosher flake salt. (We used about a tablespoon total.)
NOTE: We recommend using a kosher flake salt for this recipe. If you only have table salt on hand, use half as much (about a half of a tablespoon max).
6
If your chicken was already thawed and you skipped ahead, you’ll need a small pan with a rack that fits inside to keep the chicken elevated. (Jade created a makeshift rack with tinfoil; see step 2 above.)
7
Place the salted chicken in the pan, breast side-down on the rack, and return to the refrigerator.
- 1 Day Before Roasting:
8
Flip the chicken breast side up.
- On Roasting Day:
9
Preheat your oven to 475F with a cast iron pan on the middle rack.
10
Remove the chicken from the fridge. If needed, pat dry again.
11
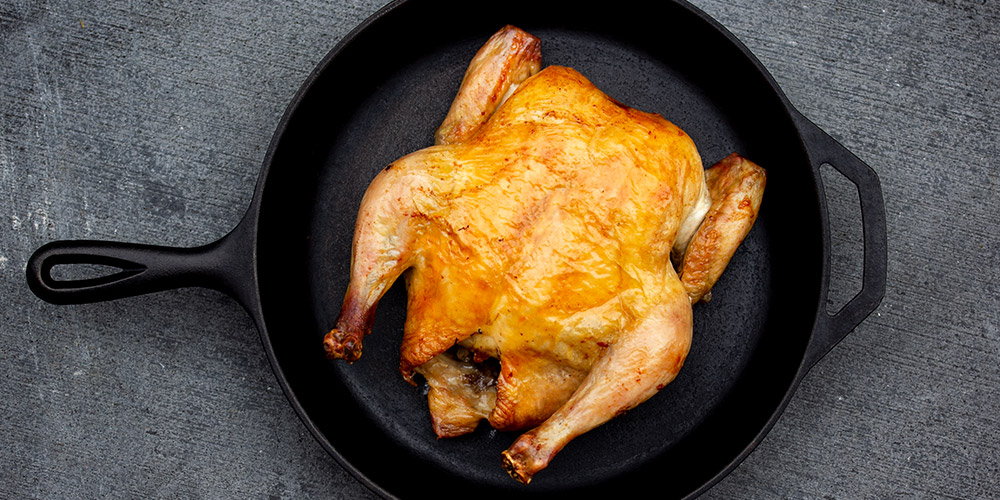
When the oven and cast iron pan are heated, carefully pull out the pan. Place the chicken in the center of the pan, breast side up. The chicken should sizzle as soon as it hits the pan. Return the hot pan to the oven and roast for 30 minutes.
12
After 30 minutes, carefully flip the chicken over in the pan (breast side down) using two pairs of tongs. Roast for 15-20 minutes.
“The chicken spattered quite a bit when I pulled it from the oven, so use caution! The high oven temperature does create quite a bit of smoke, so make sure you have good ventilation in your kitchen.”
– Jade
13
Flip the chicken once more, so it’s breast side up. Roast an additional 5-10 minutes to crisp the skin.
14
Using an instant read thermometer, check the internal temperature of the chicken. The breasts should be about 160F and the thighs should be at least 180F.
15
Carefully remove the chicken from the pan and let rest on a plate or cutting board for 10-15 minutes. (No need to cover it.)
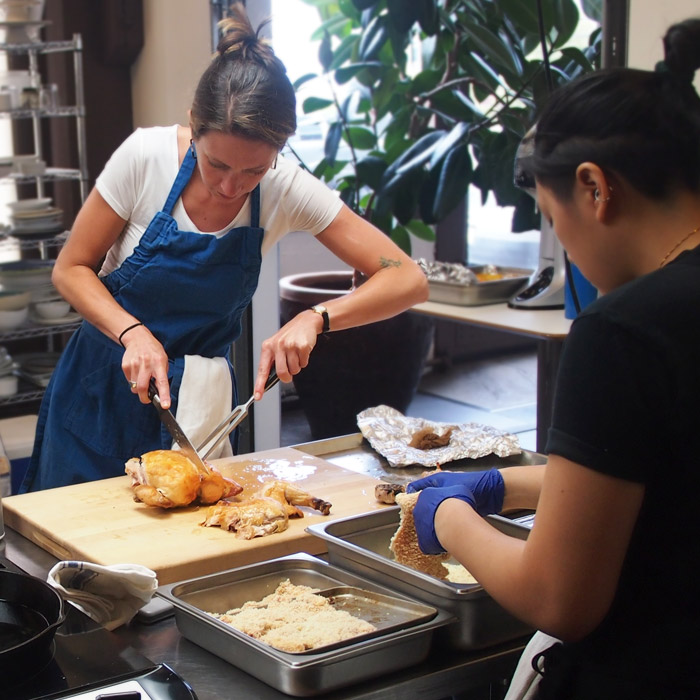
16
Carve and serve.
- Optional: Make Gravy
1
While the chicken is resting, set the still-hot pan or skillet it roasted in over medium heat on the stove top.
2
Add the butter and let it melt, scraping the fond (browned bits) with a wooden spoon or spatula.
3
Gradually add the flour, whisking until it’s fully incorporated and there are no lumps.
4
While whisking, slowly pour in the chicken stock. Bring to a boil, reduce to a simmer and let the gravy thicken for 3-5 minutes. (Stir occasionally to prevent the gravy from sticking or burning on the bottom.)
5
Taste and season with salt and pepper.